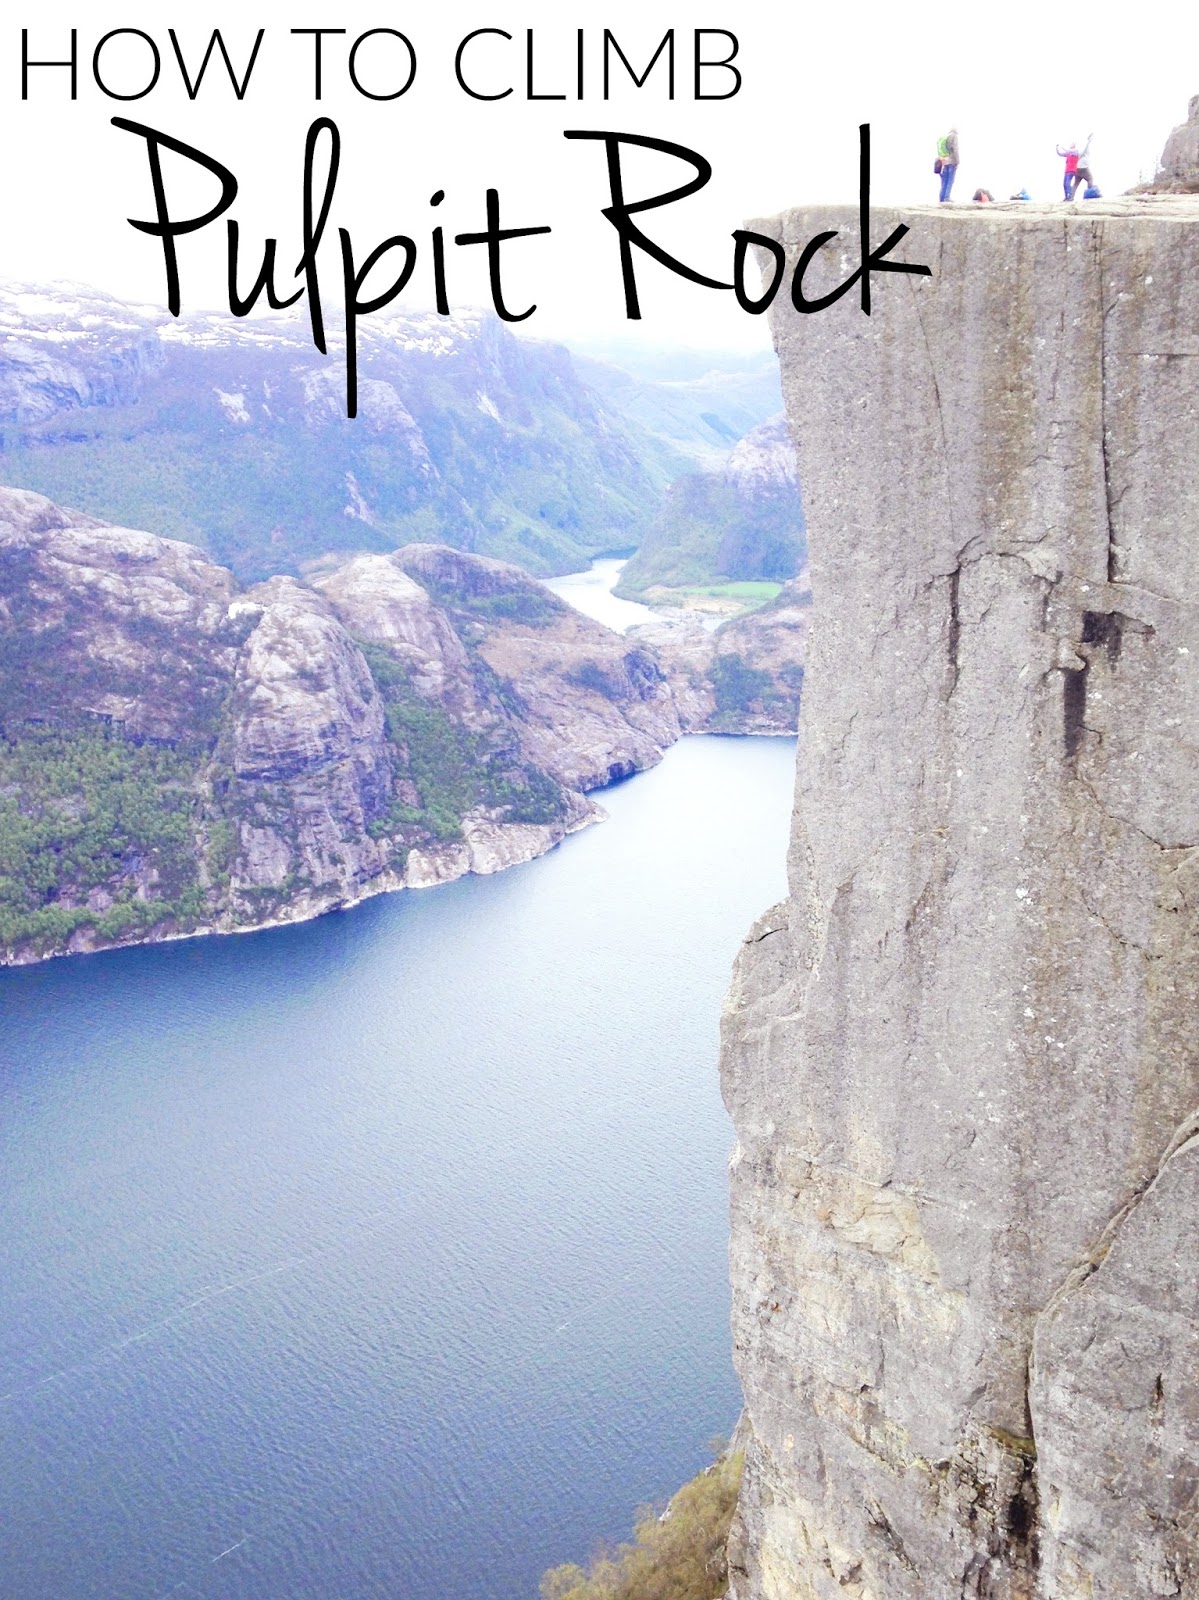
Last year in May I was fortunate enough to be able to travel through Norway with my best friend by my side, after having been apart for more than a year. I’ve always loved Norway, and have been there several times as a kid, either going skiing with my parents, or spending a few weeks hiking and canoeing there over the summer back when I was a scout. However, I’d never gotten the opportunity to hike to Pulpit Rock, or Preikestolen as it’s called in Norwegian, so of course I couldn’t say no when my friend suggested that we went there. It turned out to be one of the most beautiful experiences in my life, and I cannot recommend you guys enough to go there one day. So to make it a bit easier for you guys, I’ve compiled a little list of things you need to know before climbing Pulpit Rock:
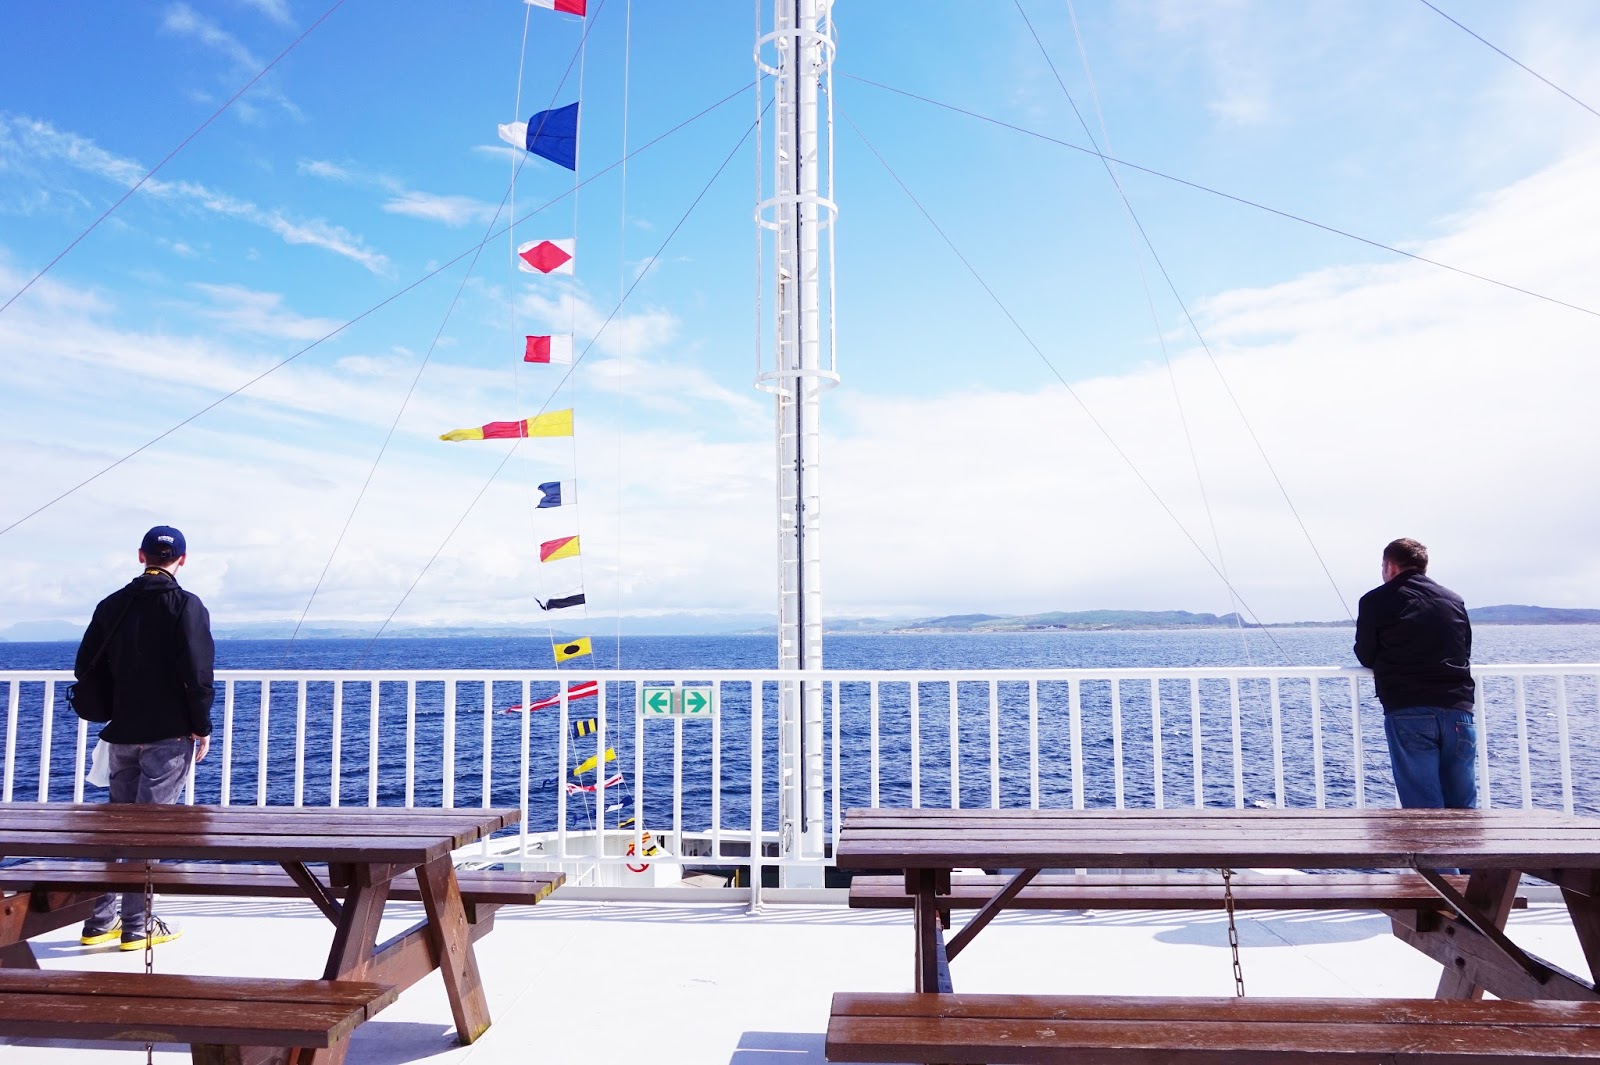
Getting There
Where To Stay


I don’t believe there’s any way that you can hike Preikestolen without not having to stay the night in the area, unless you’re driving of course! Right at the beginning of the trail you’ll find two options for accommodation, the mountain lodge Preikestolen Fjellstue and the hostel Preikestolhytta. Both belong to Preikestolen Fjellstue, which is were you pick up your key for the hostel, and both are located at the same place. We decided to get a dorm for 4 people at the hostel which we paid 1420NOK for. I cannot recommend you guys enough staying at this hostel! Without doubt the best one I’ve seen ever! The cabin is super cosy and have the most beautiful views of the surrounding nature. In the rooms you’ll have a sink and mirror and then there are shared bathrooms. The lodge has both a dinner and lunch menu at the restaurant, and a breakfast buffet (which I believe is included in the price of the room, otherwise it’s probably only around 20NOK). At the breakfast buffet you can also make your own lunch that you can bring with you for your hike.
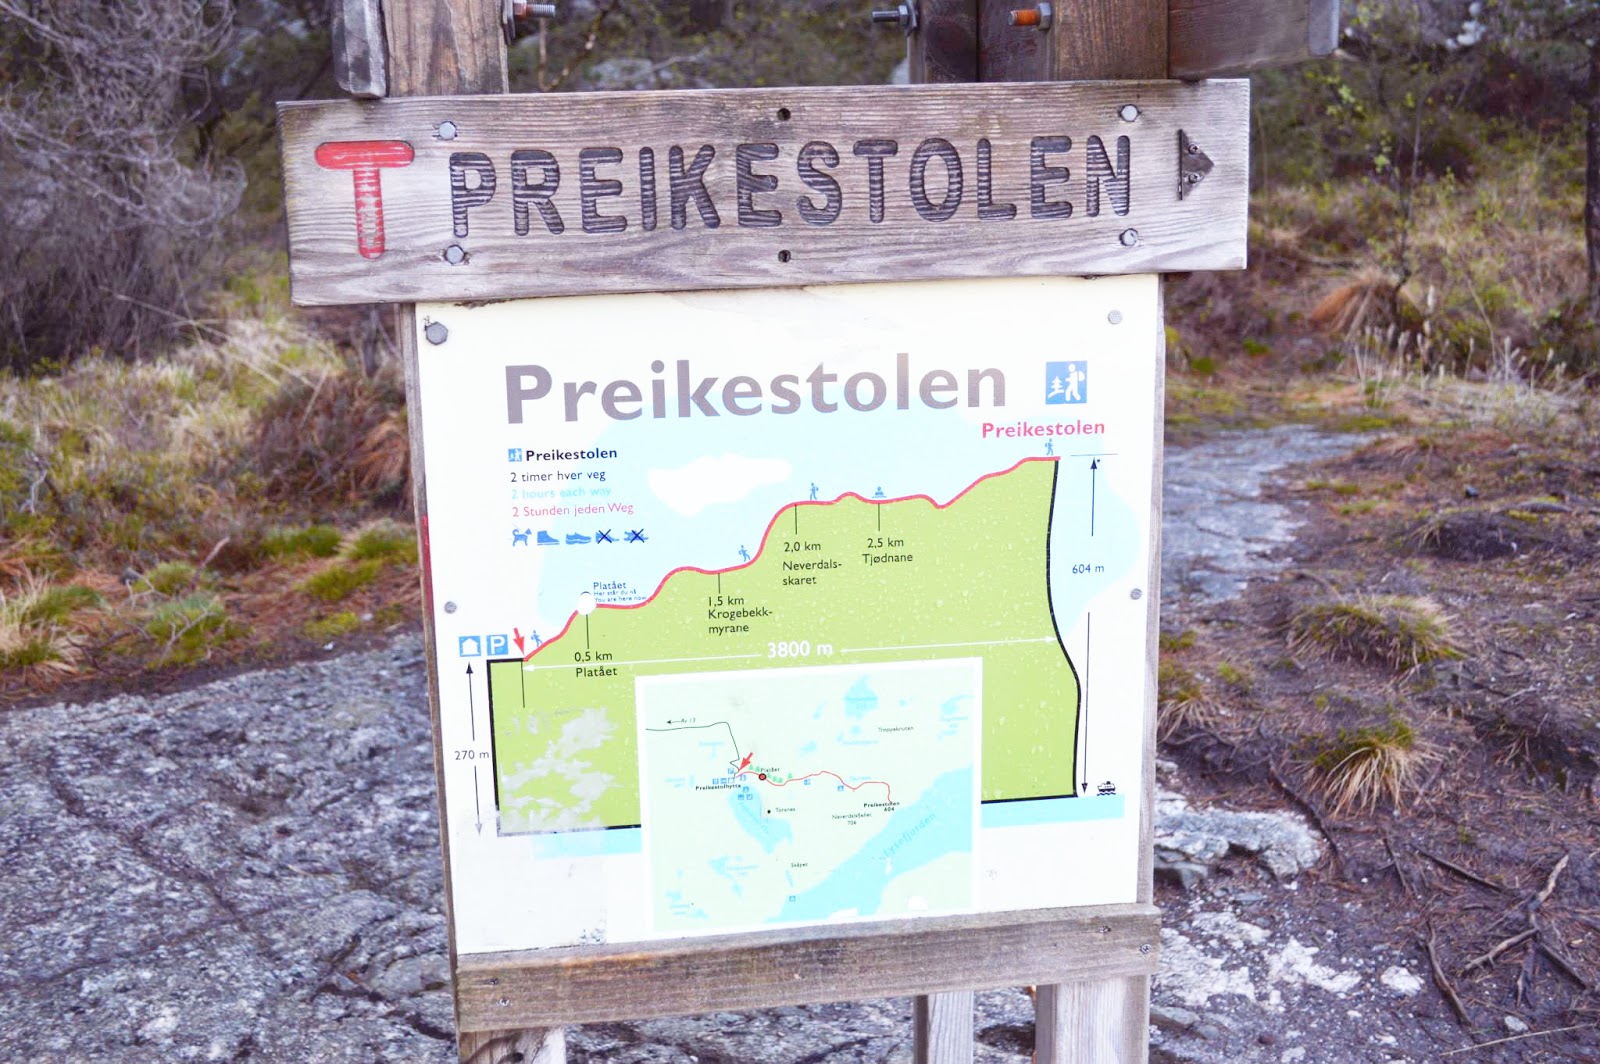
The Hike

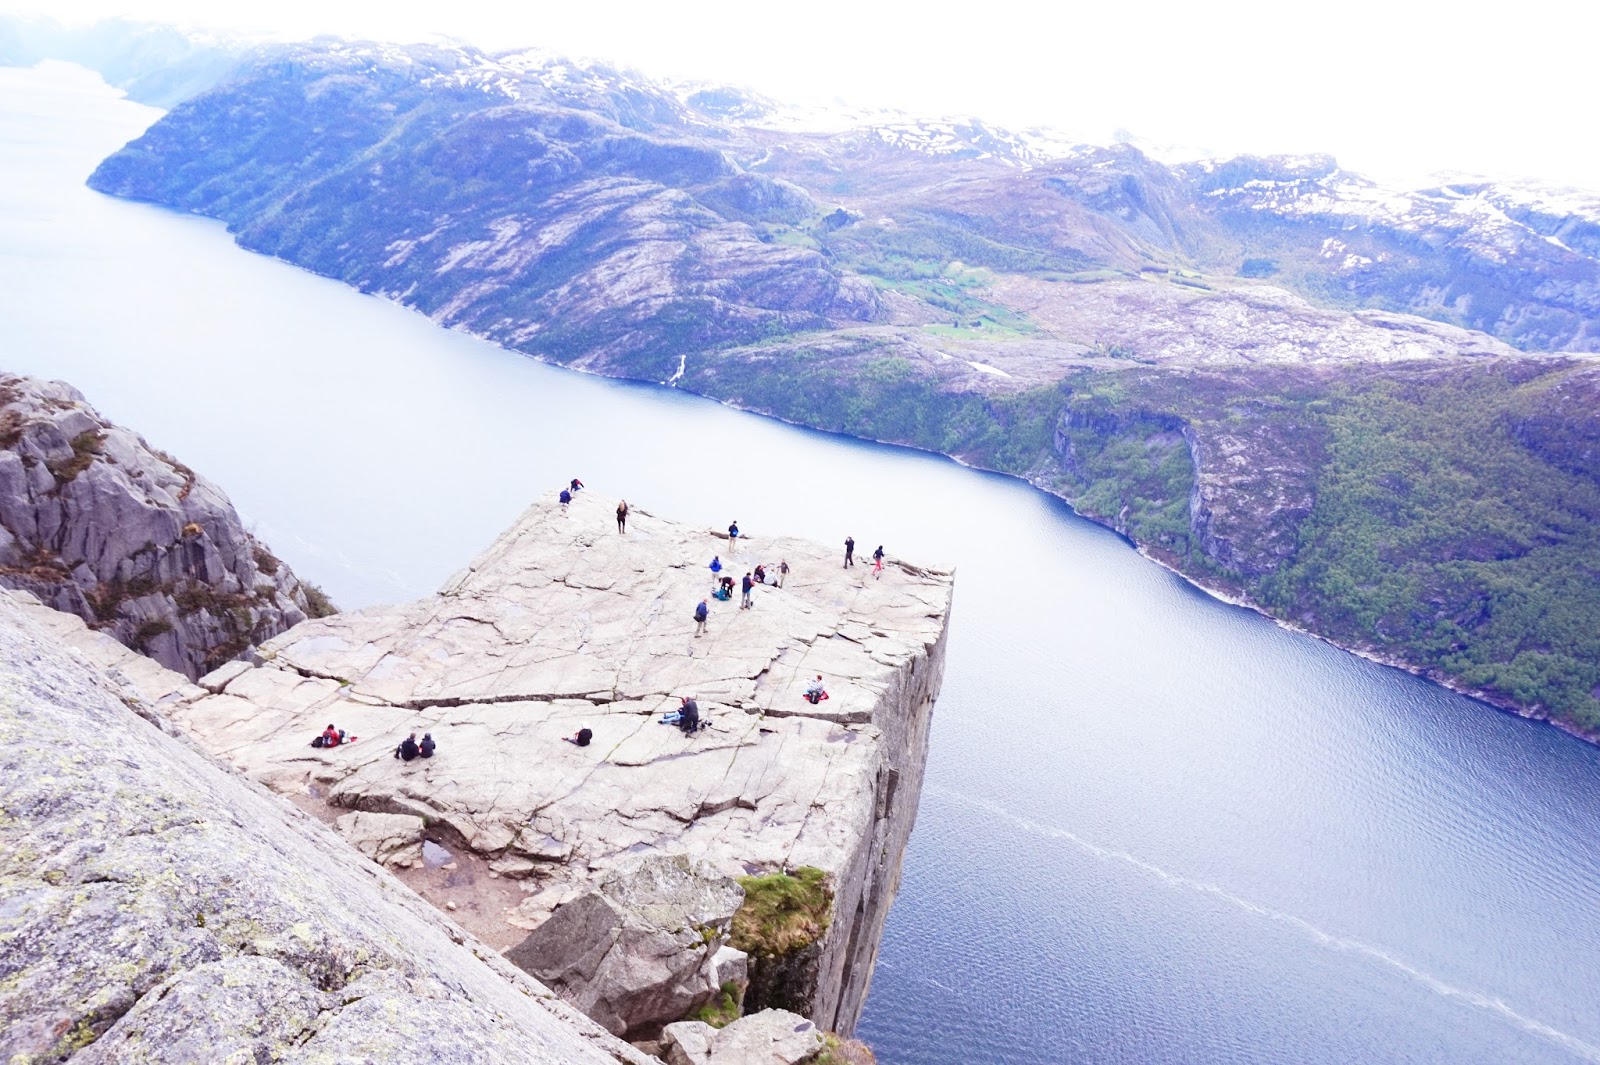
The hike itself has to be one of the best hikes I’ve ever done – if not the best! It’s very pleasant, and I would say anyone can do it, even someone as clumsy as me. We actually also met a few older people along the way. Although it is pleasant, you’ll still get the most amazing views along the way, and you’re guaranteed a bit of sweat as probably more than half the hike will be you climbing uphill on major rocks.
The Essentials

Obviously you wanna bring some water and snacks for this hike. As for your equipment, most guides say that you should wear proper hiking gear, but honestly you can just wear your normal workout clothes. Personally, I wore a part of Nike tights, trainers, a tank top, and a sweater, which I wore while having our lunch as it was quite cold and windy at the top. Some people did bring hiking poles, but honestly, if I can do it without that, anyone can!
3 svar til “HOW TO CLIMB PULPIT ROCK – ALL YOU NEED TO KNOW”
what a beautiful view from up there. I've never done anything like this before, looks marvellous!
Pam xo/ Pam Scalfi♥
This looks amazing! I've seen pictures of this before but never knew the process it took to get up there…that's quite a hike! Thanks for sharing 🙂
I would love to do this hike! I didn't know it was only 3 hours! That's totally do able!